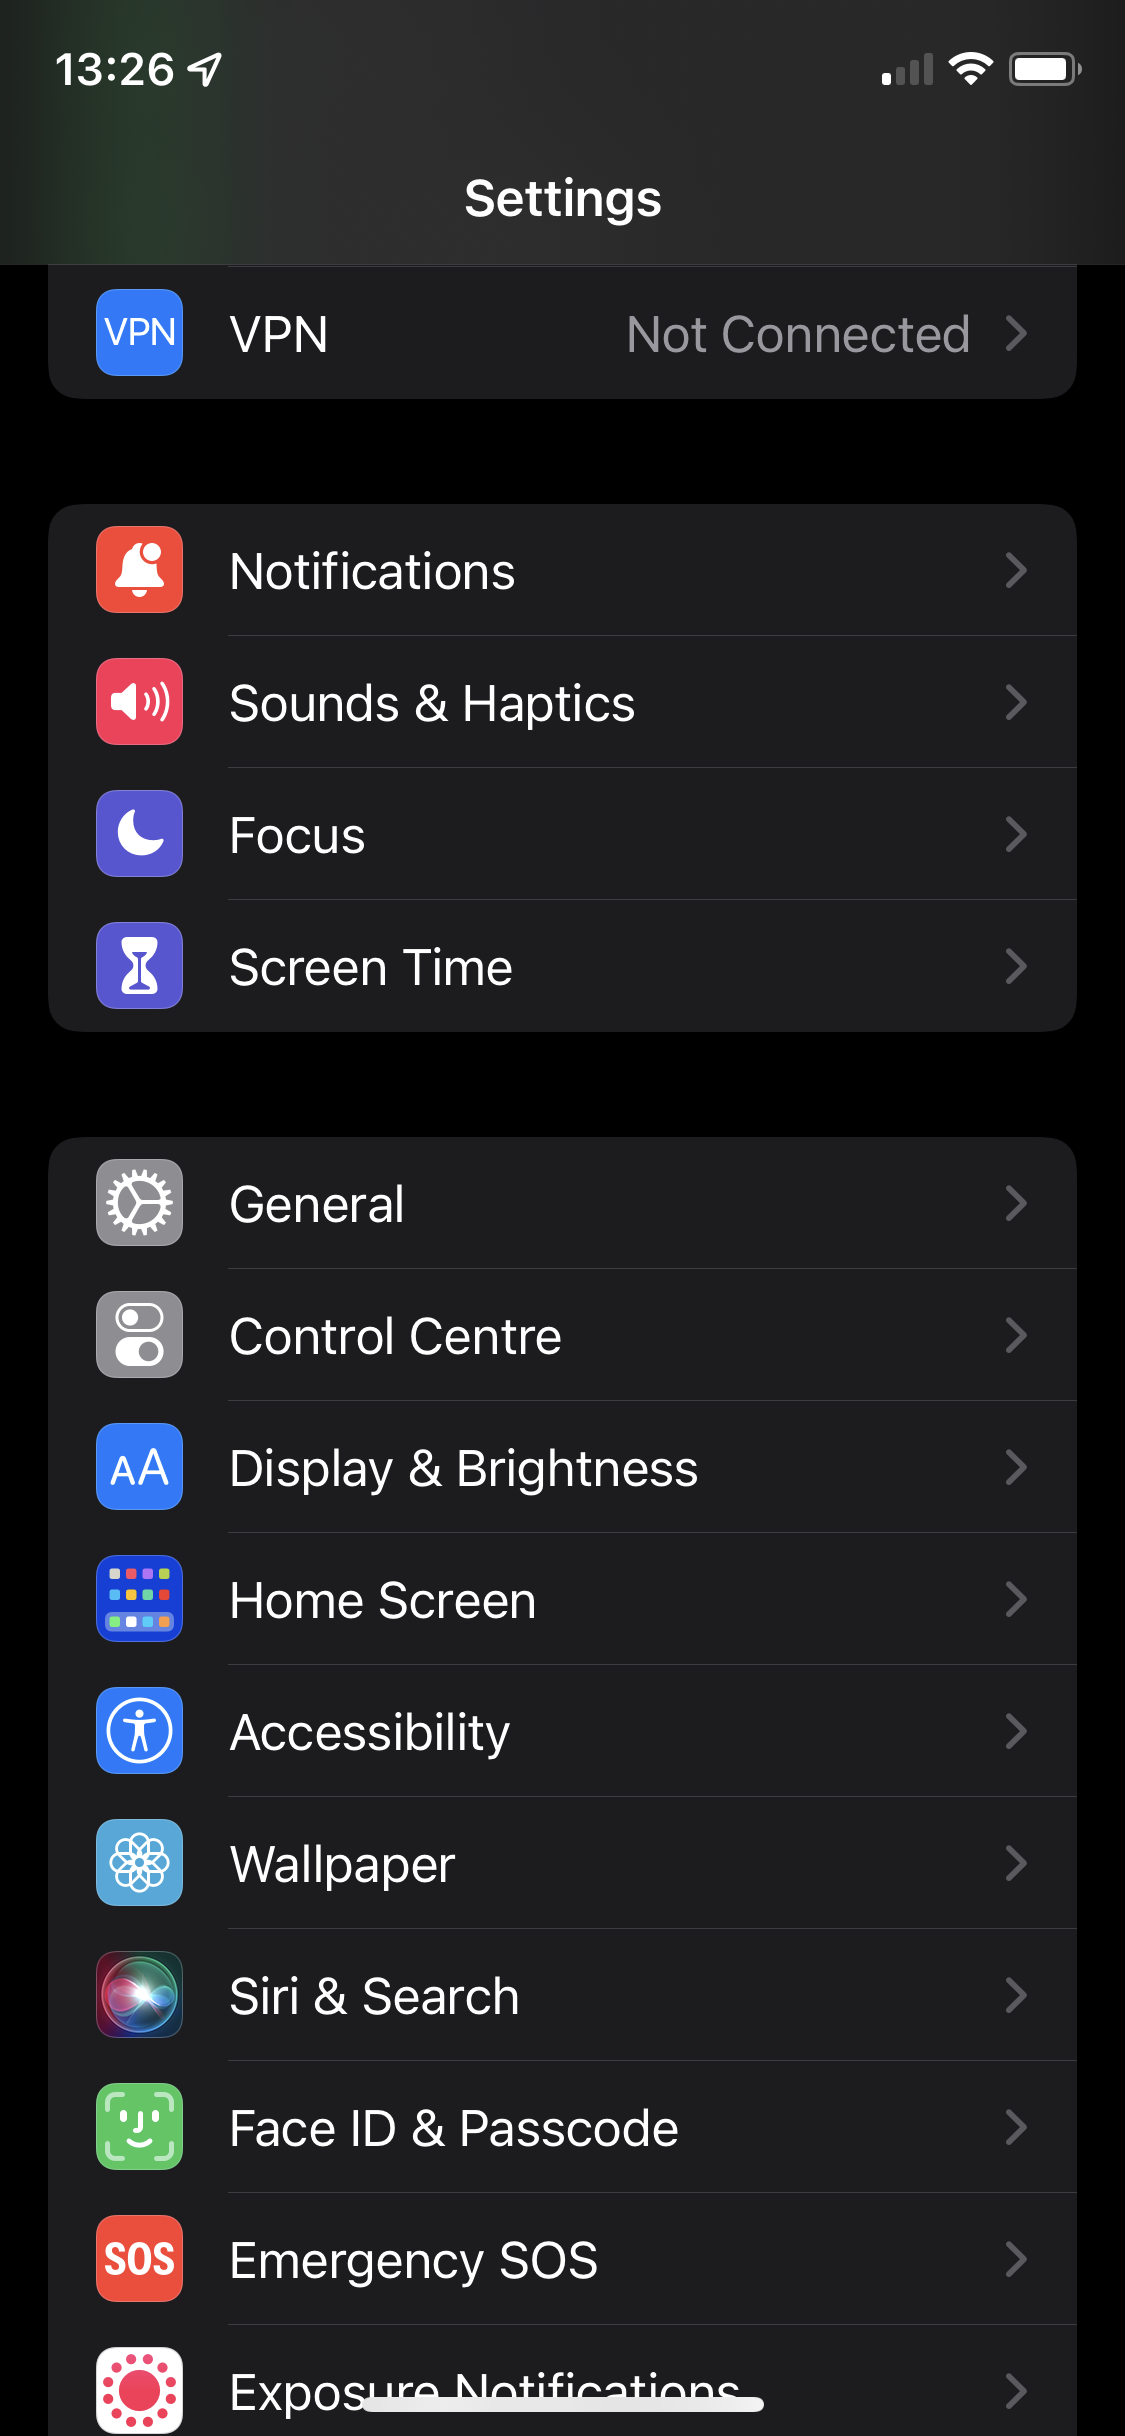
- Open the “Settings” app on your iPhone or iPad, and then tap “VPN”
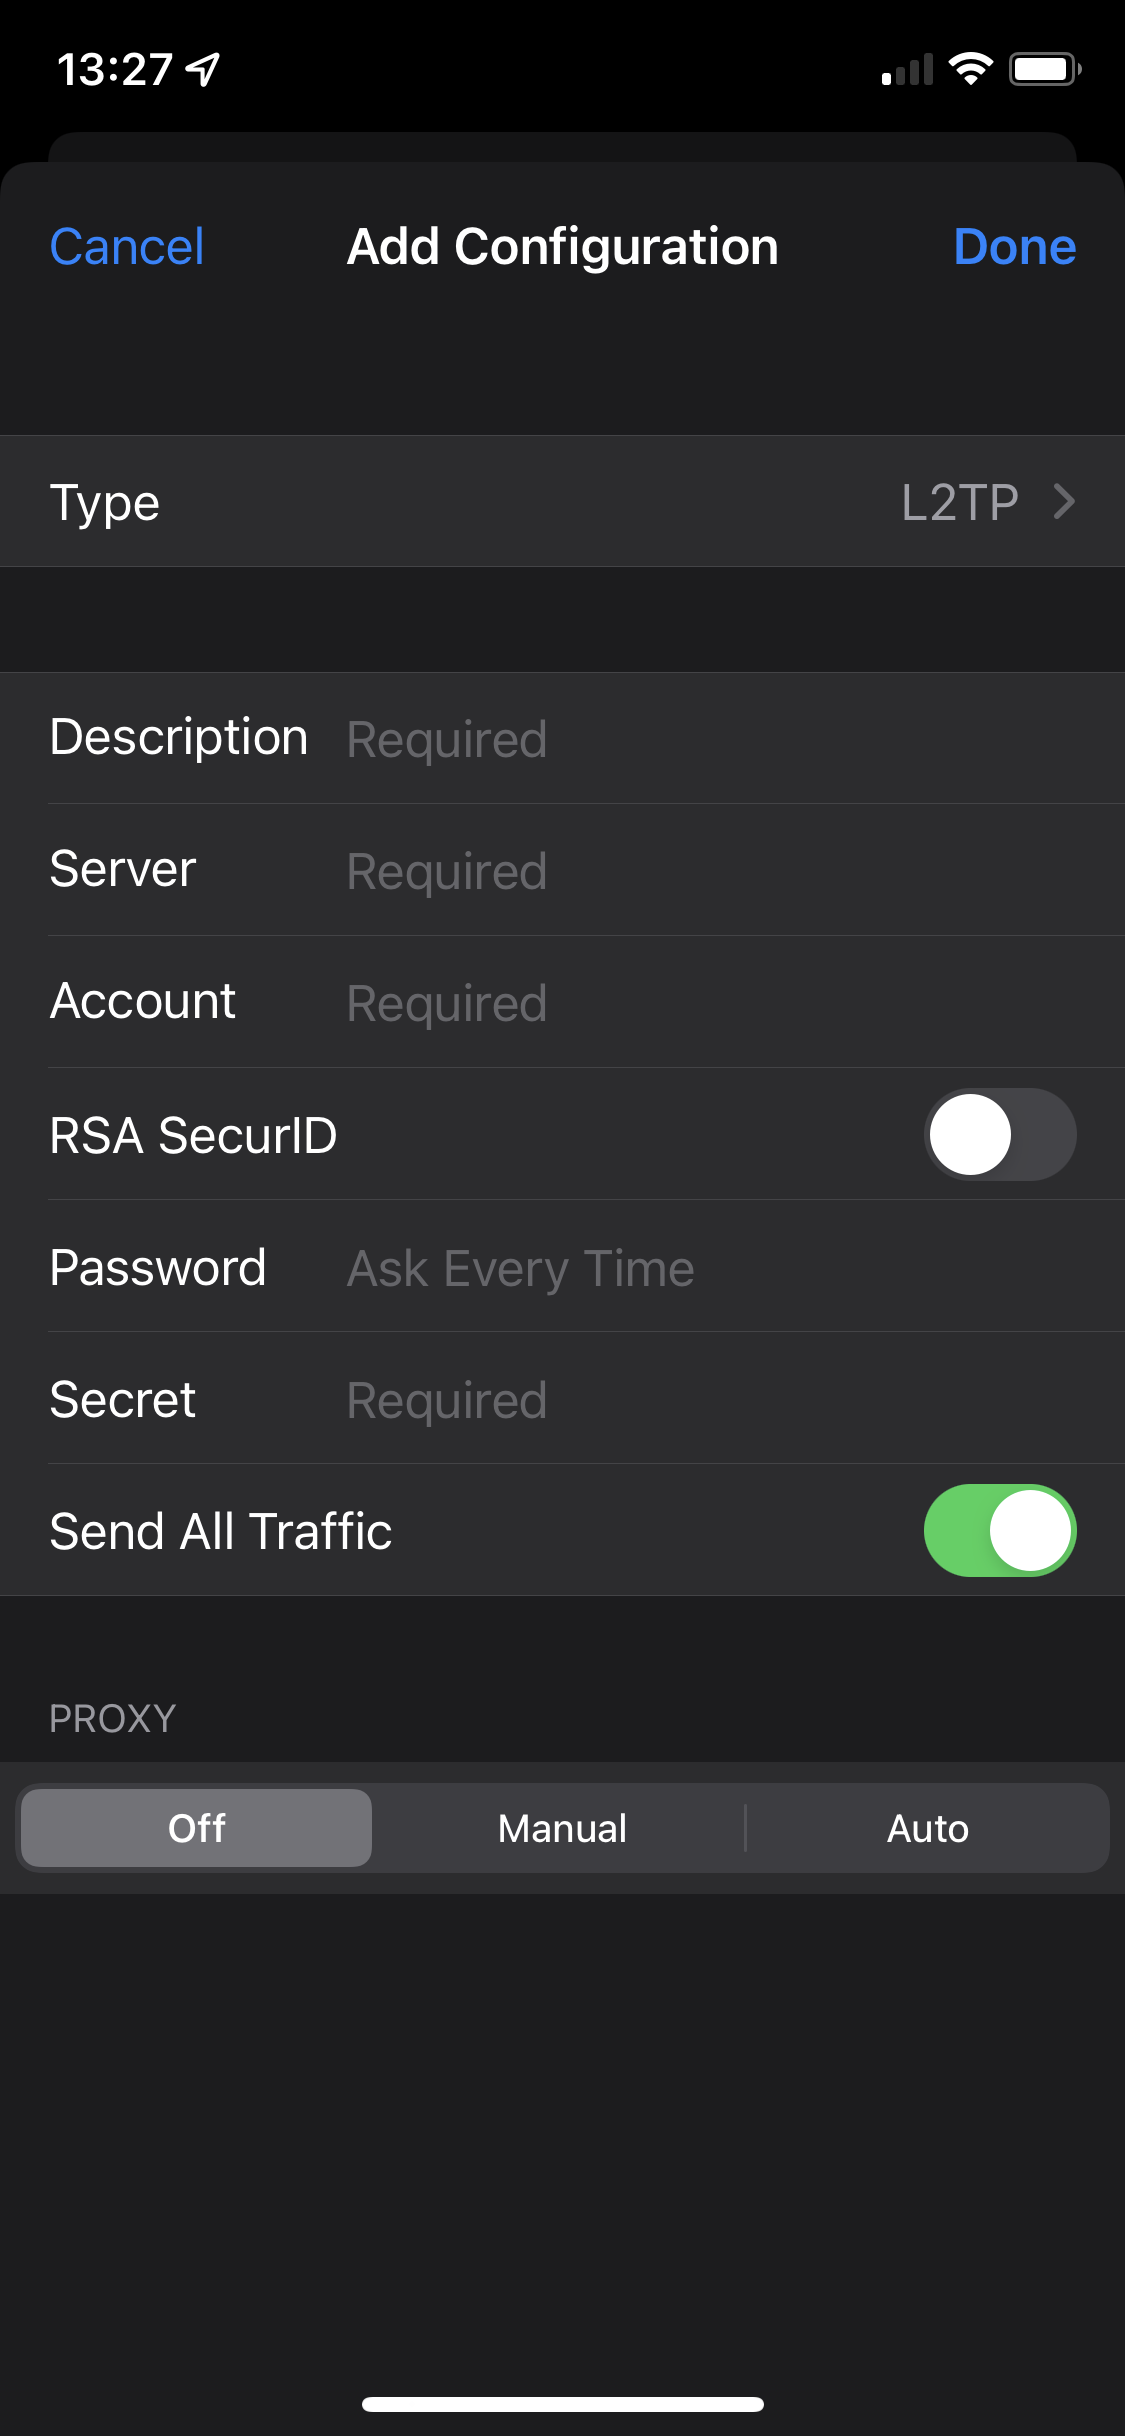
- Tap “Add VPN Connection”
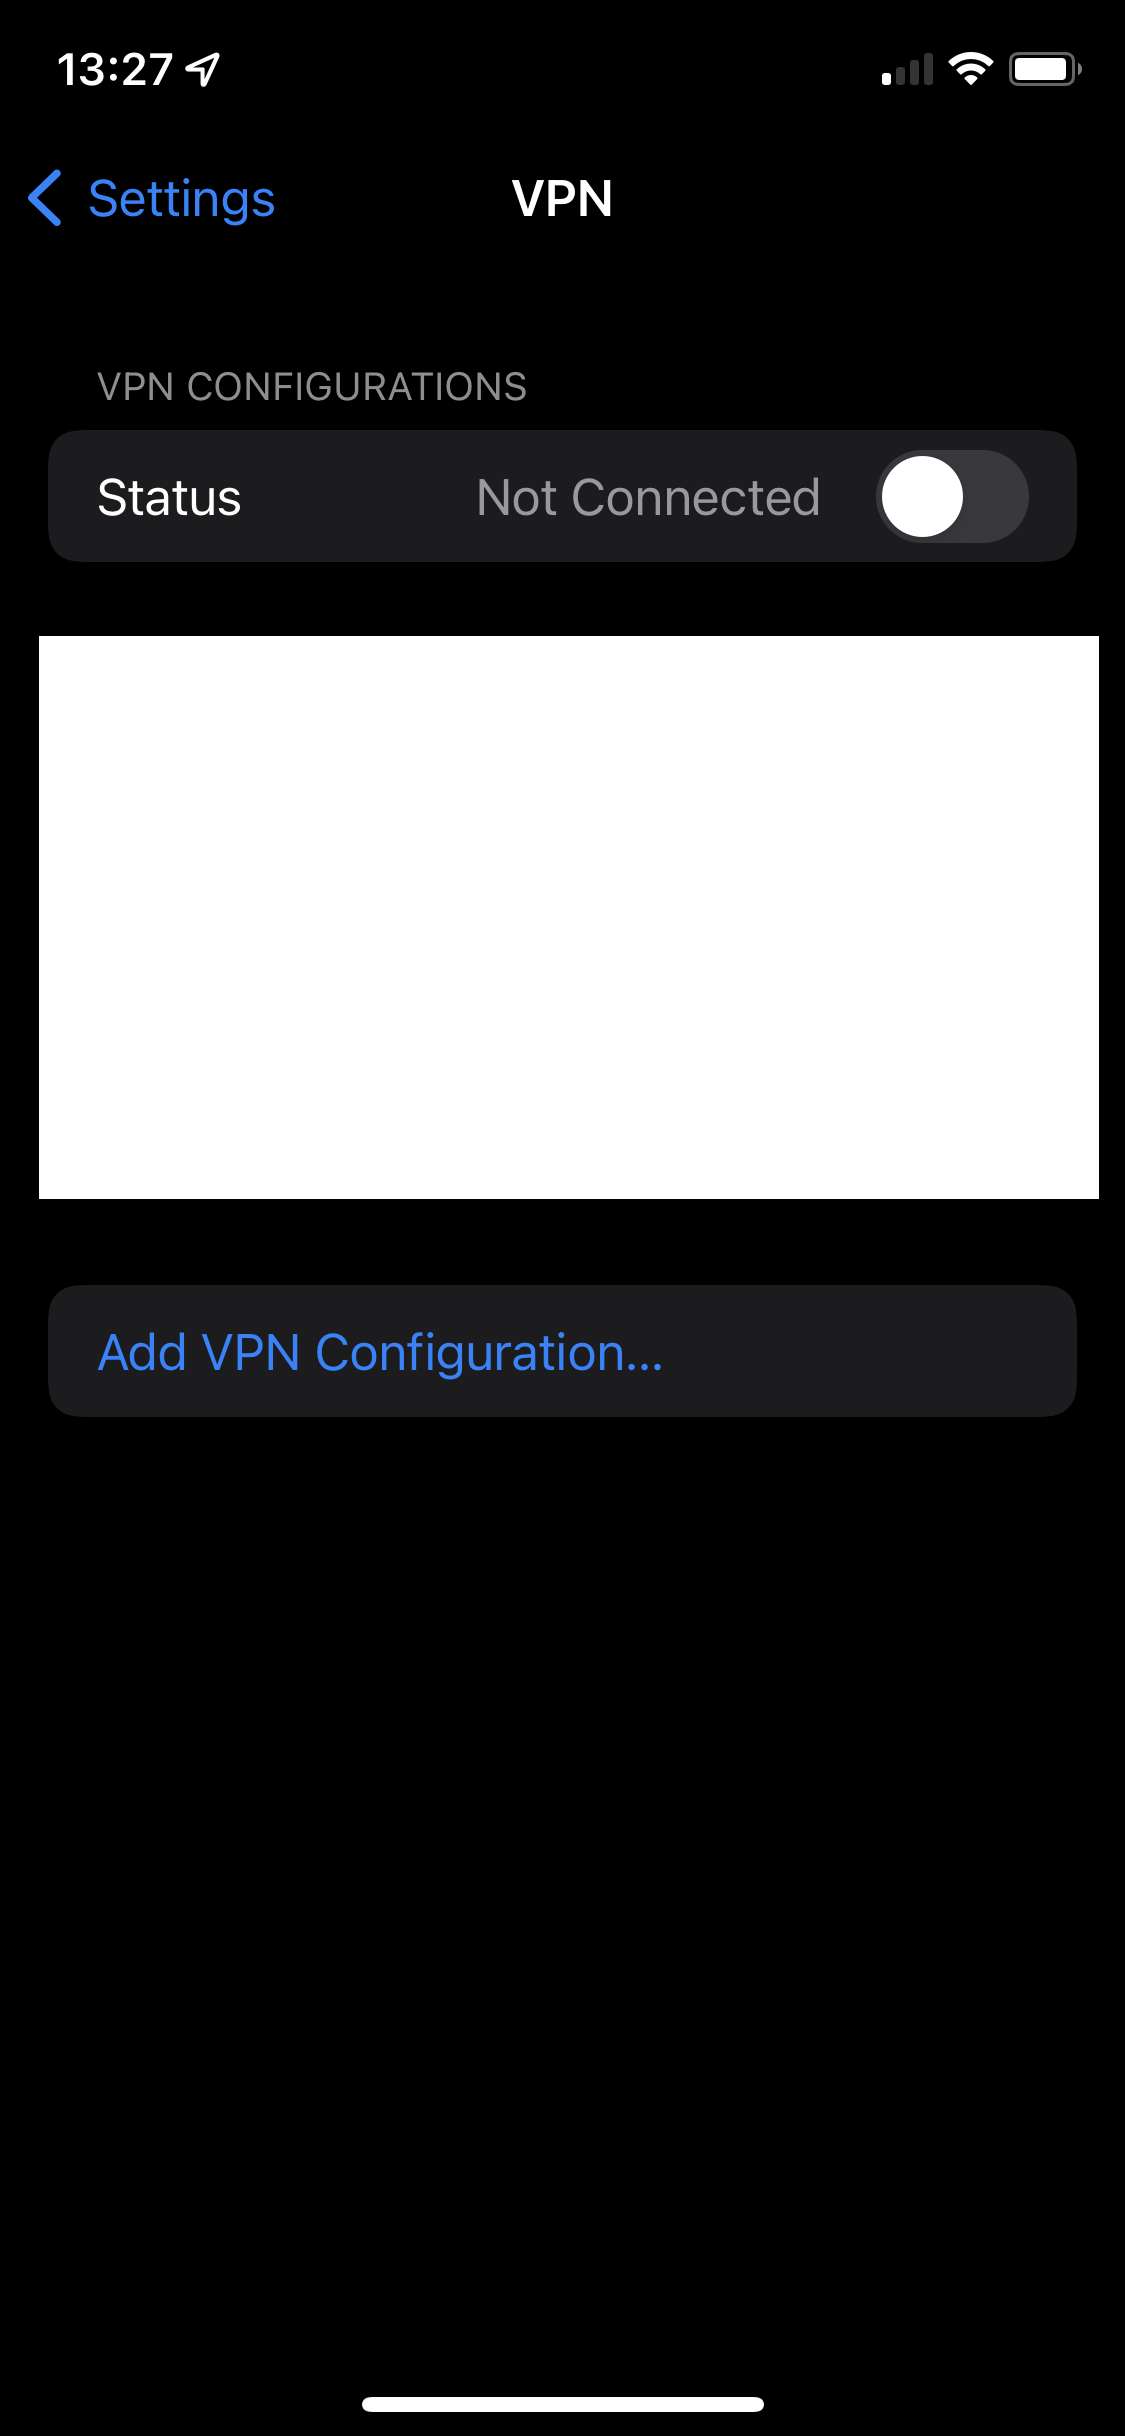
- Fill in your VPN details (This is where it starts to get technical, if you need assistance please give us a call and one of the team would be happy to assist)
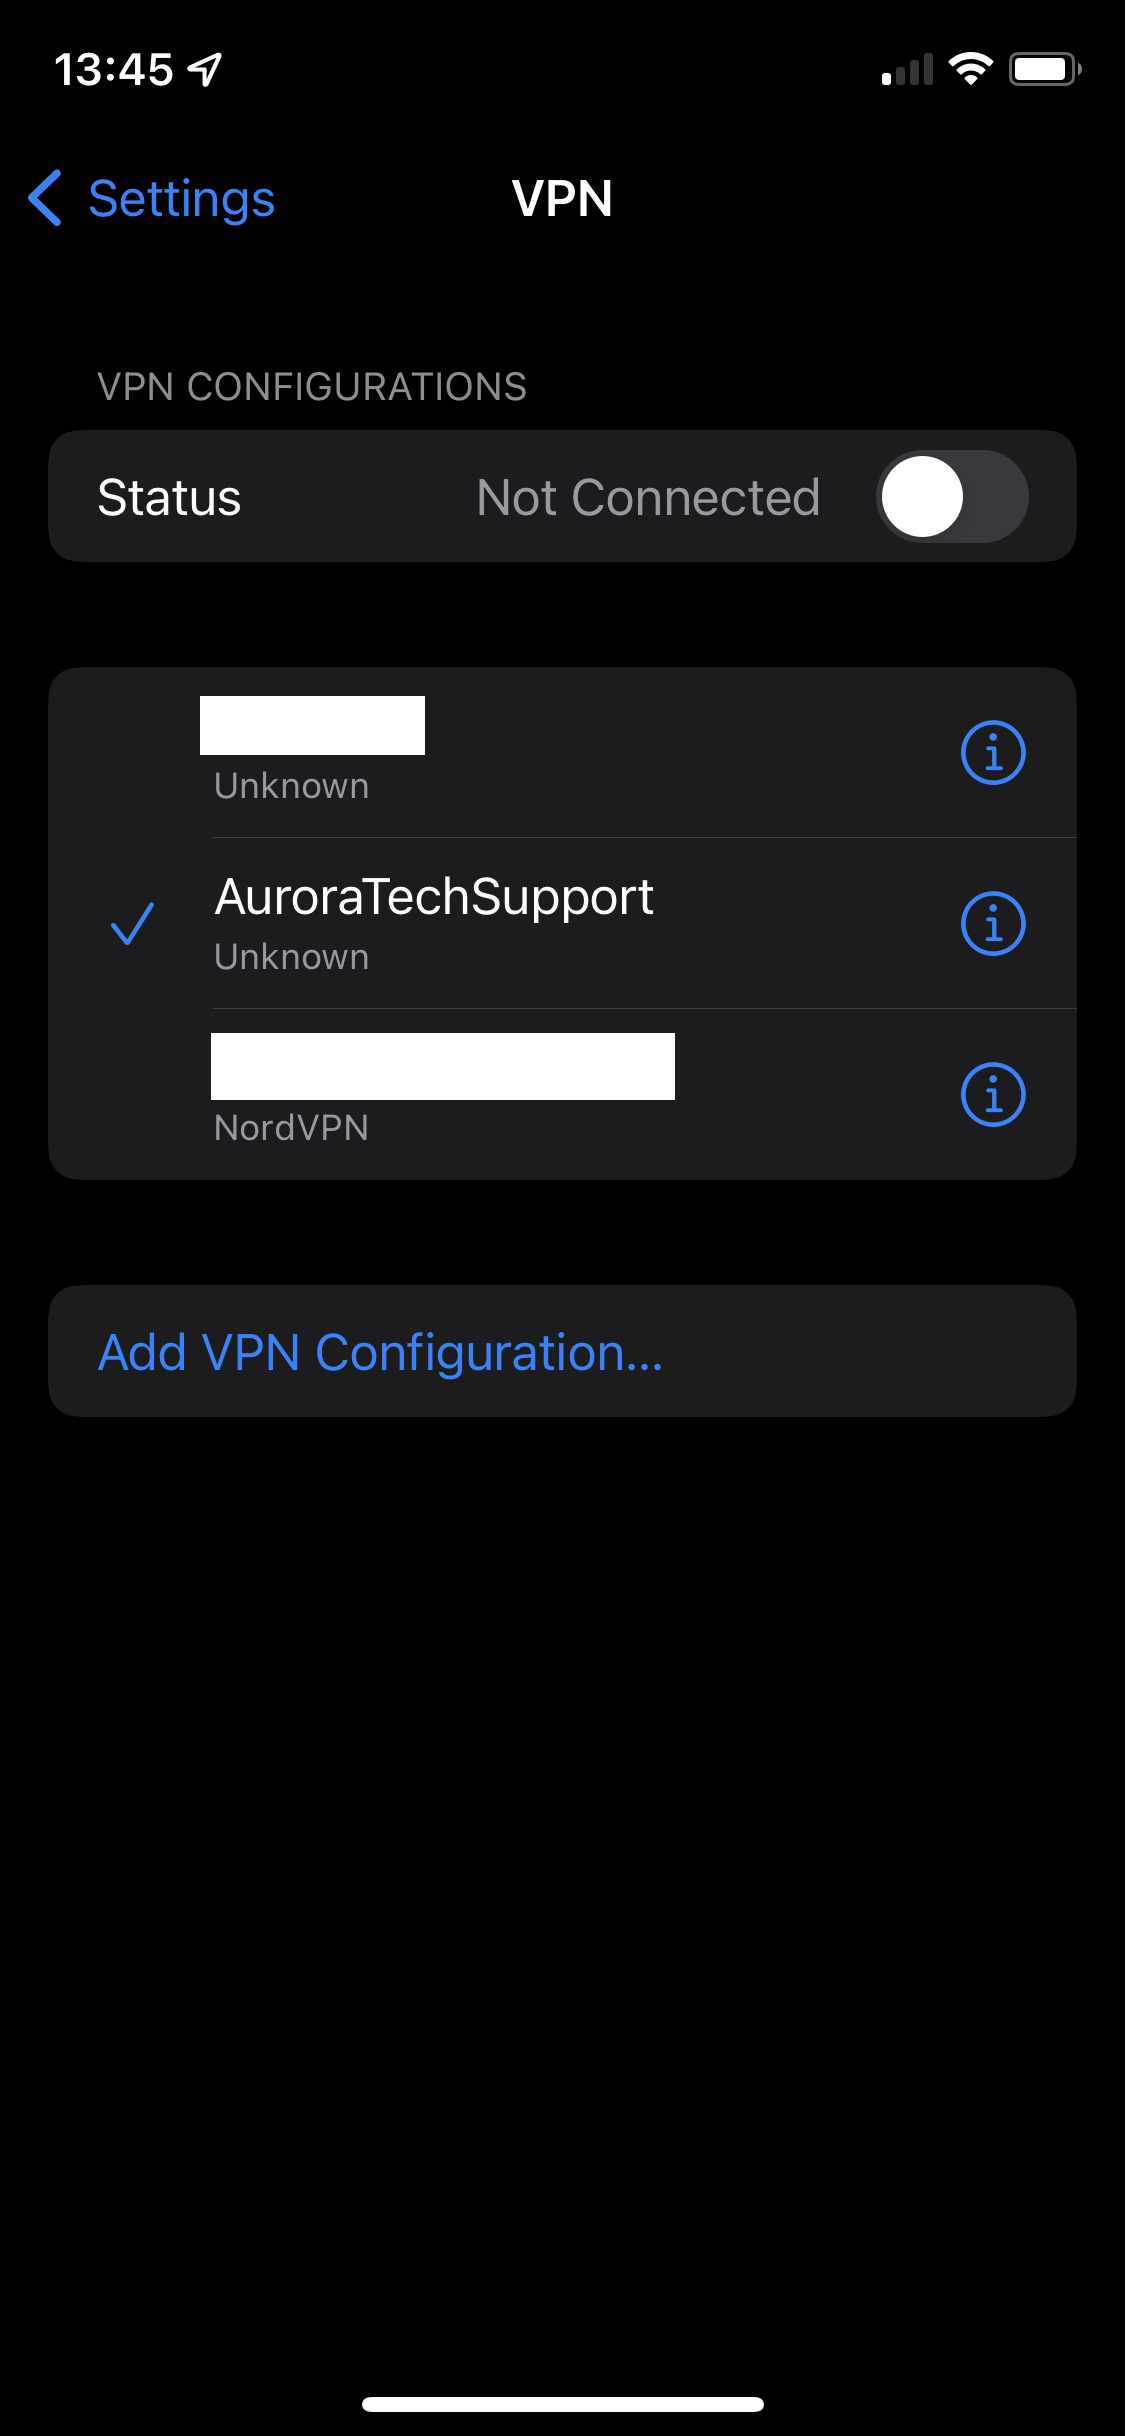
- Now connect by Selecting your VPN and toggling the switch next to “Not connected” if the VPN is configured correctly your iPhone/iPad will connect.
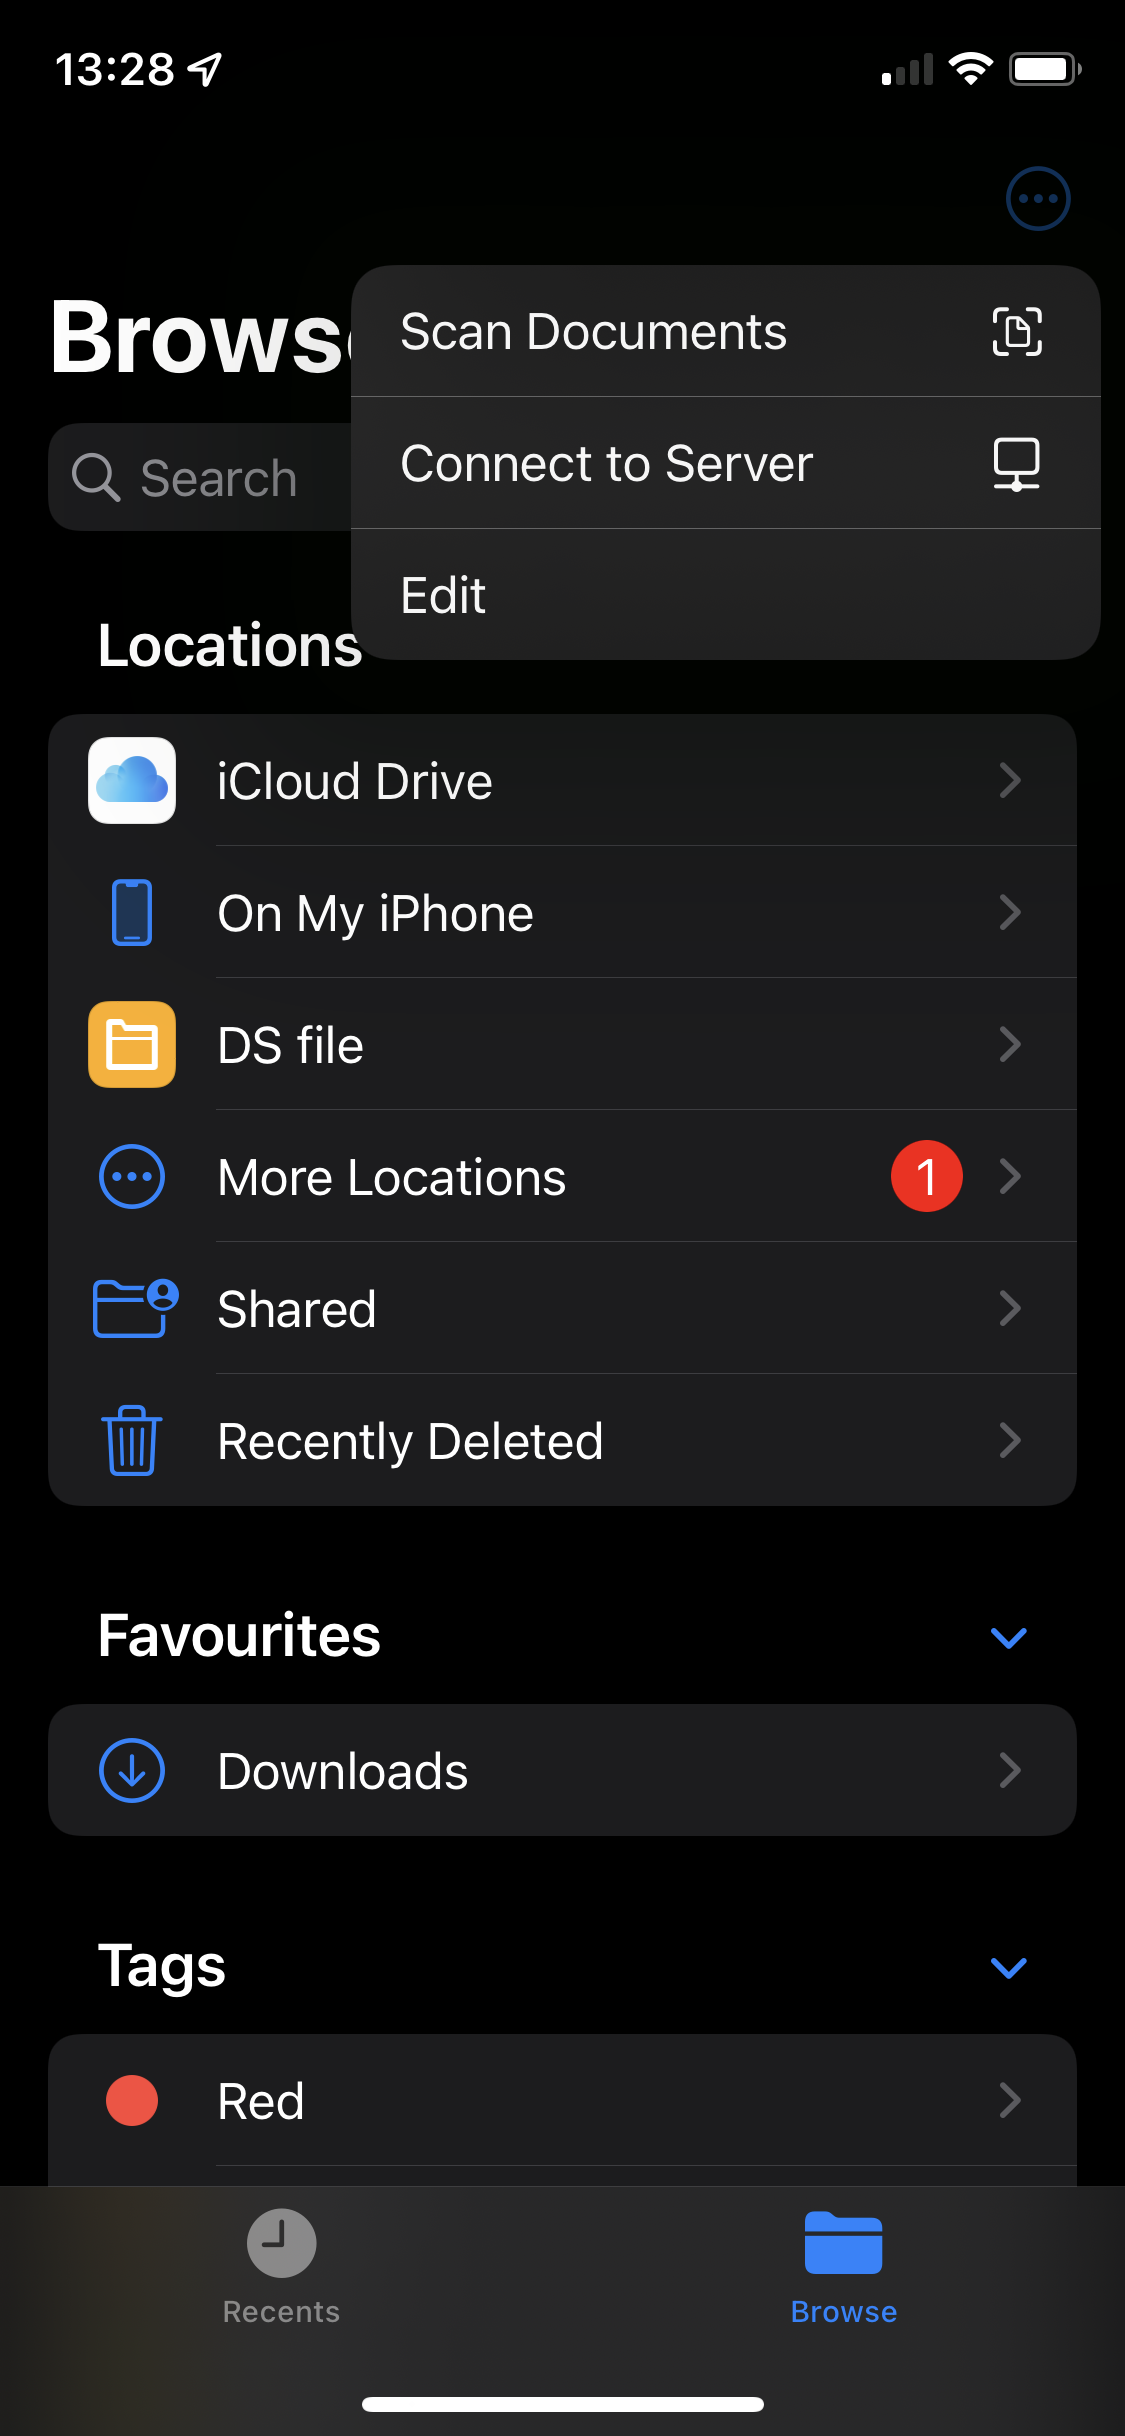
- Once you have configured and connected to your VPN you can then move to the “Files” app on your iPhone or iPad home screen.
- Tap to open the “Files” app and tap the 3 dots in the top right.
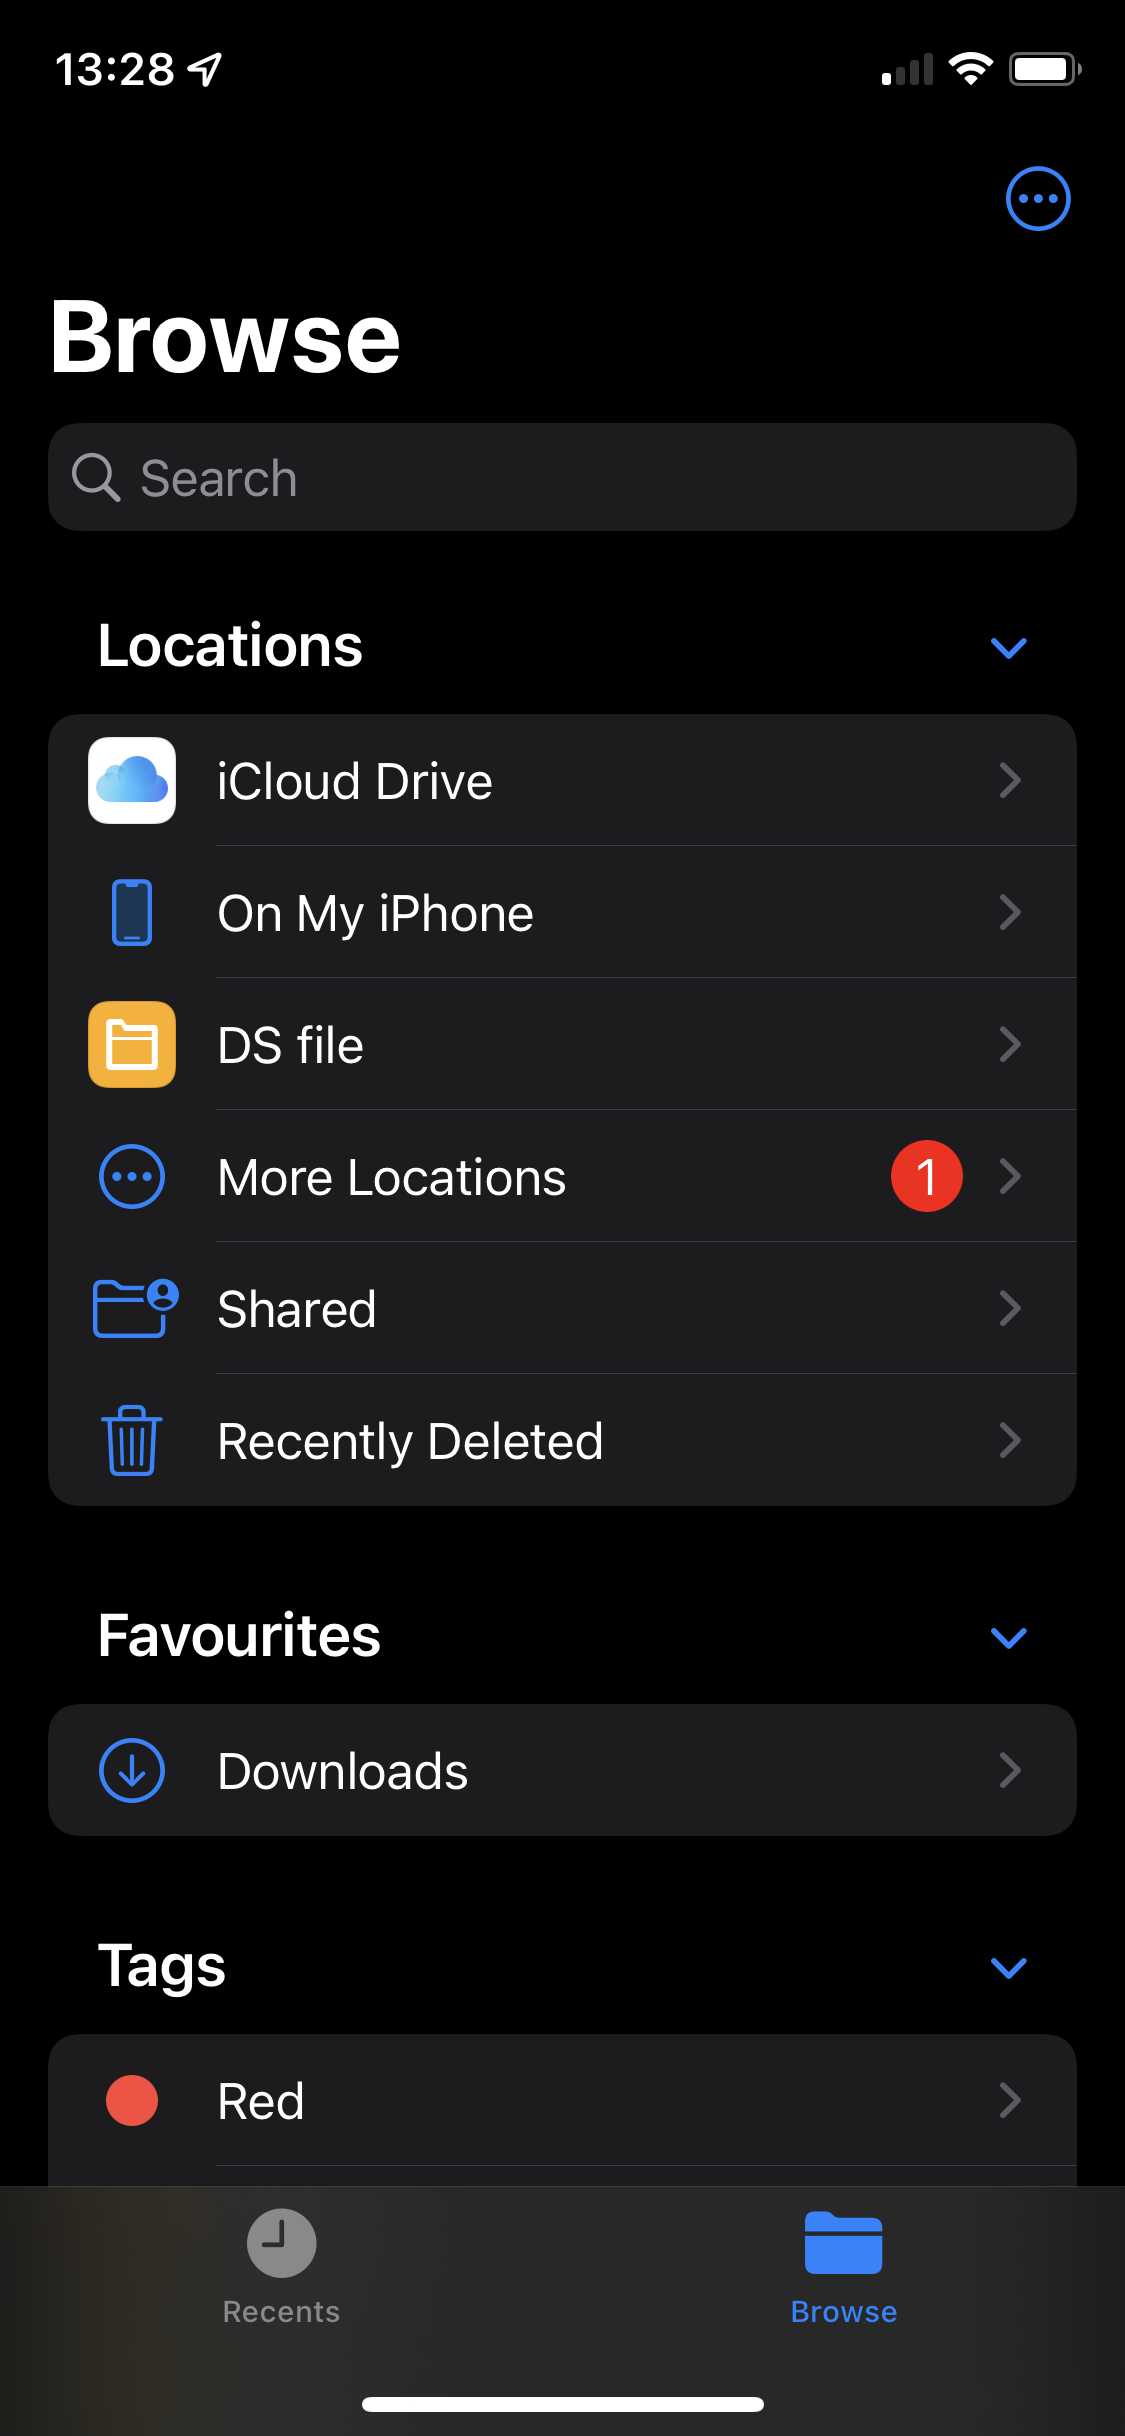
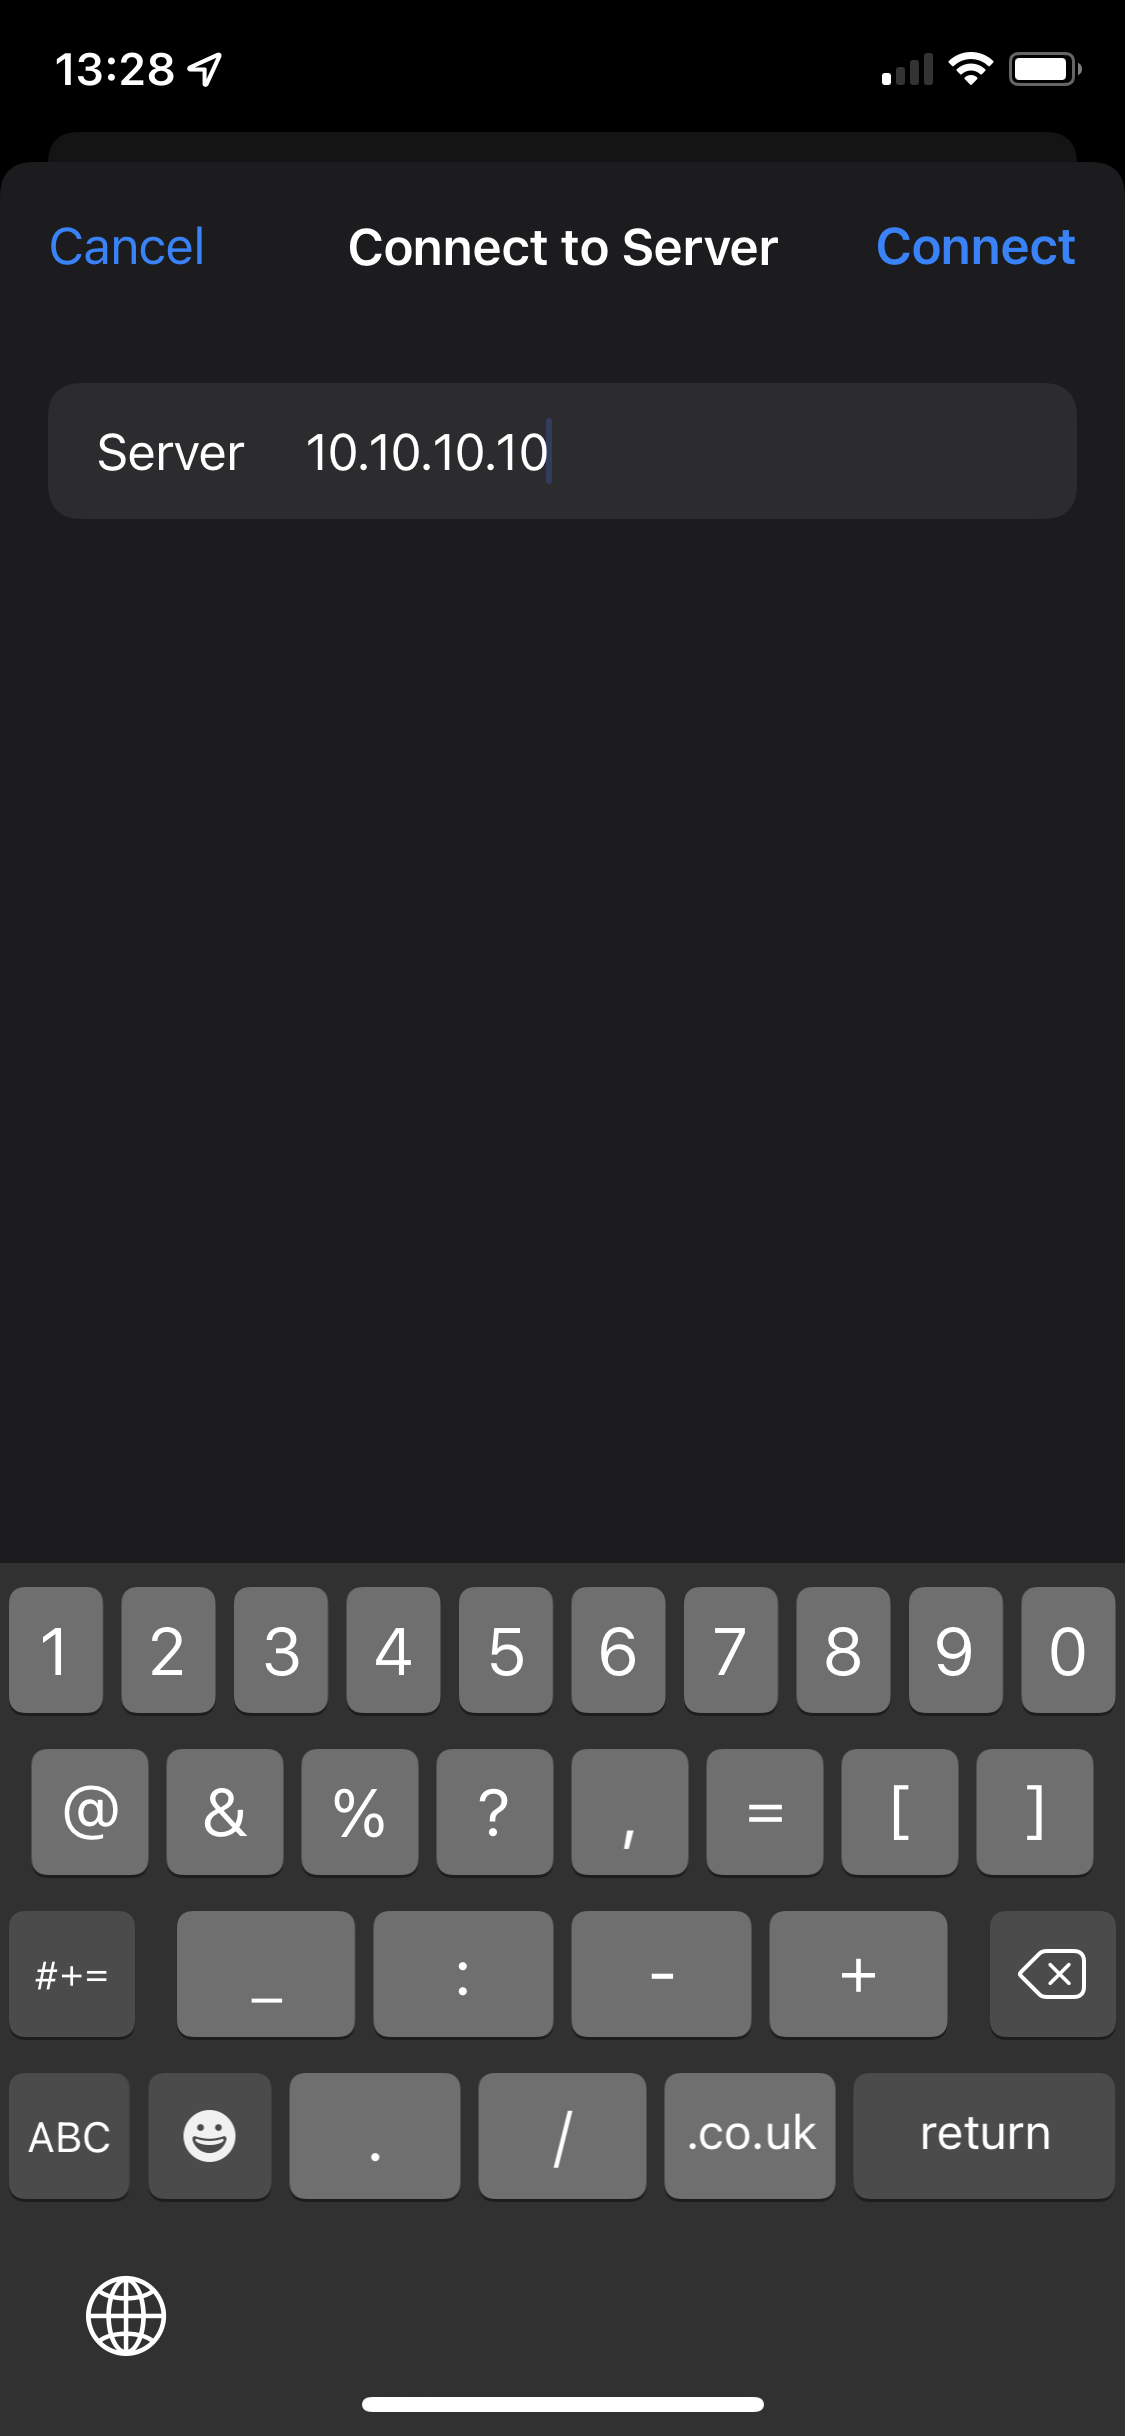
- Tap “Connect to server”
- Put the address of your SMB/File server in (Again this might be quite technical, if you require assistance please get in touch)
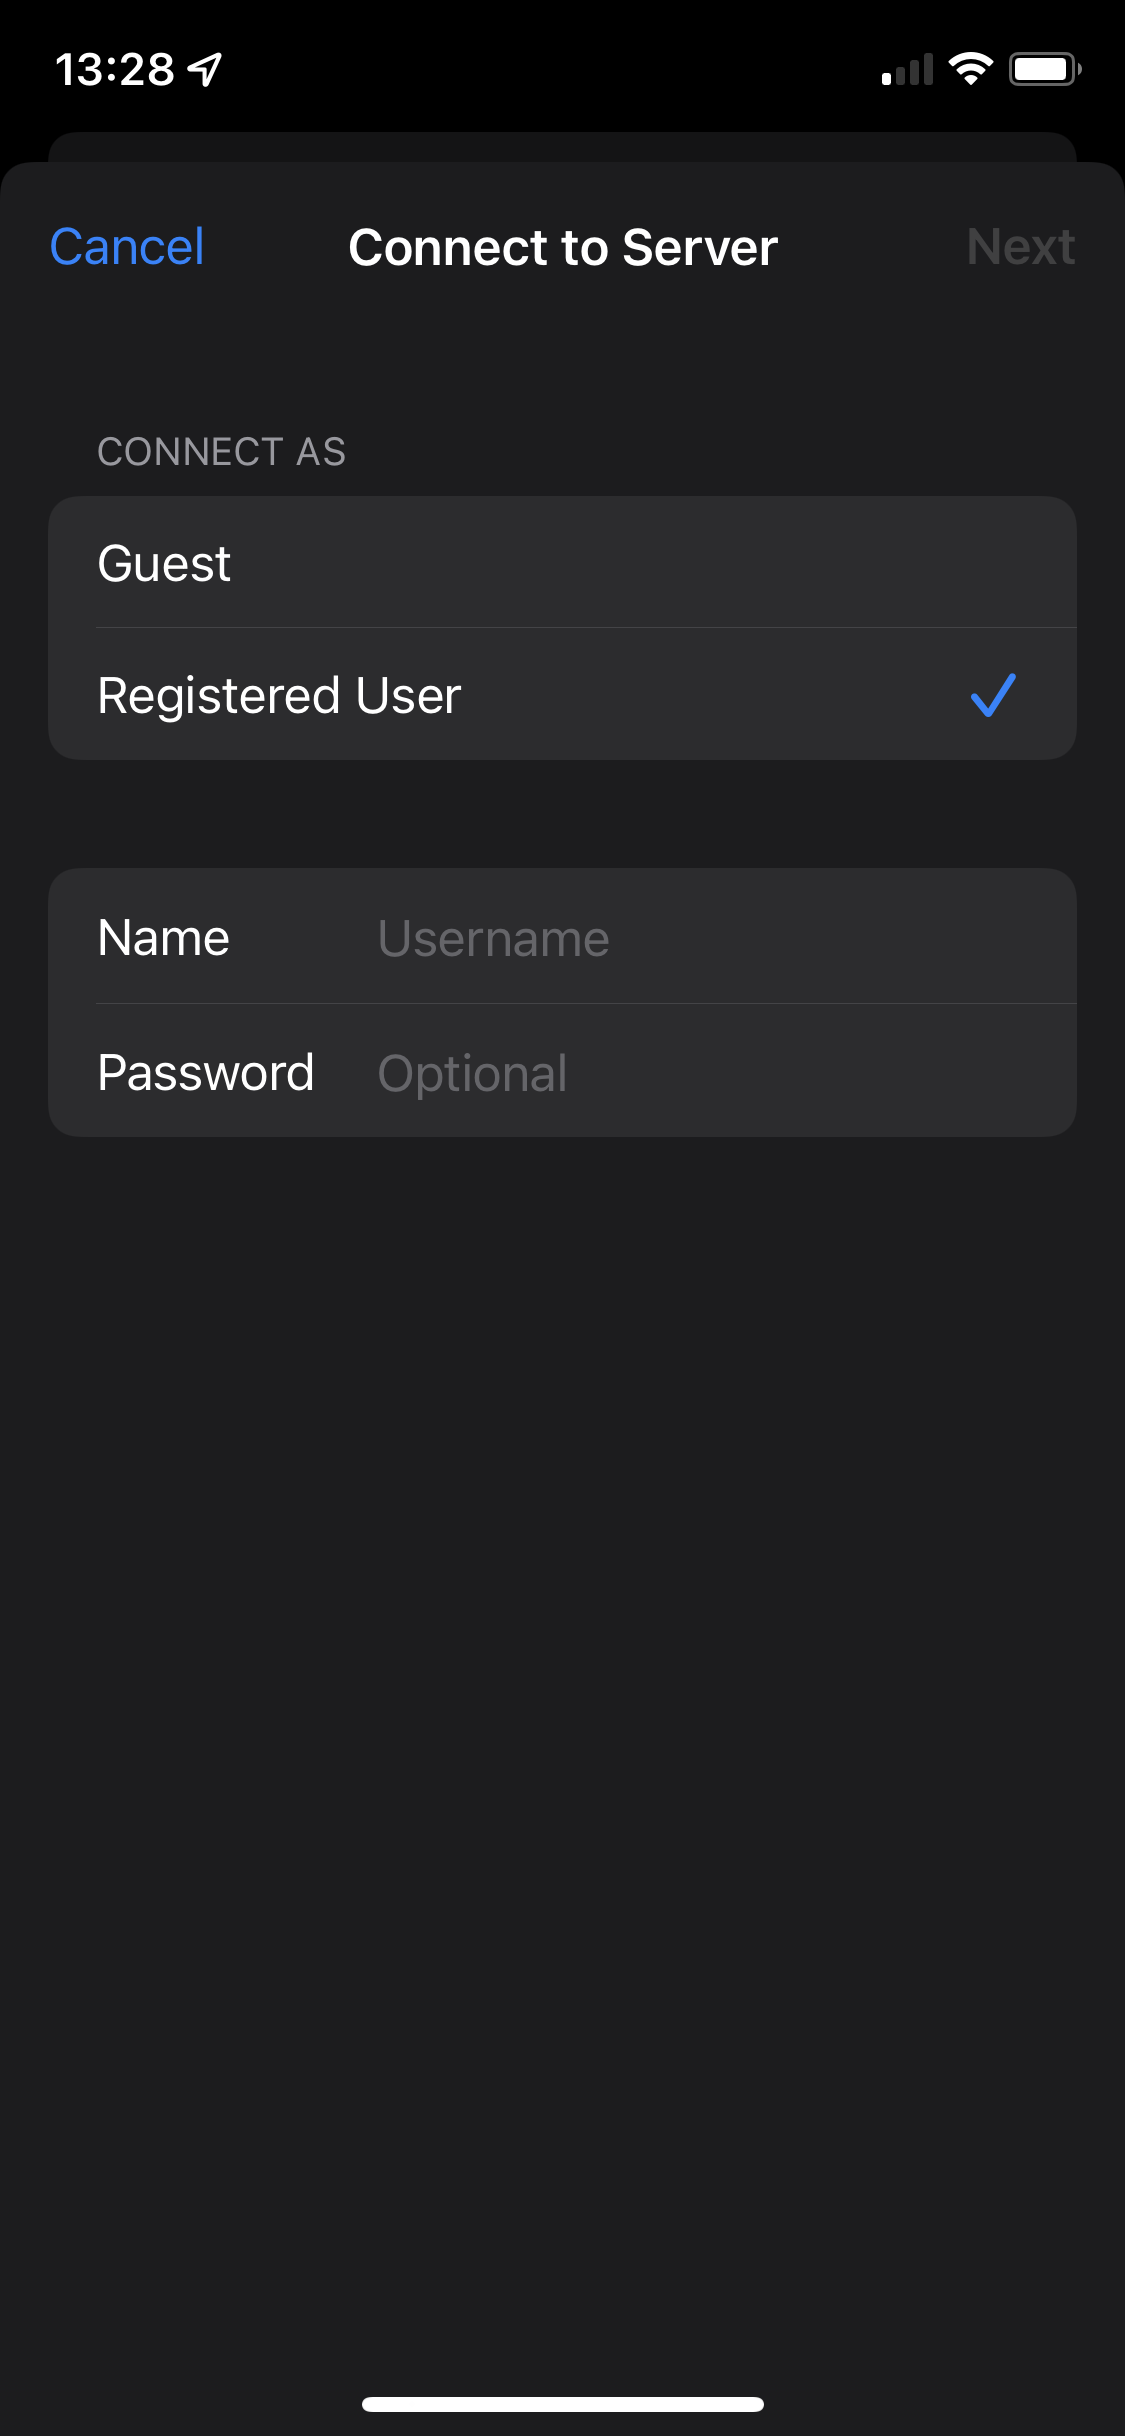
- Fill in your user details for the server and then tap “Done”
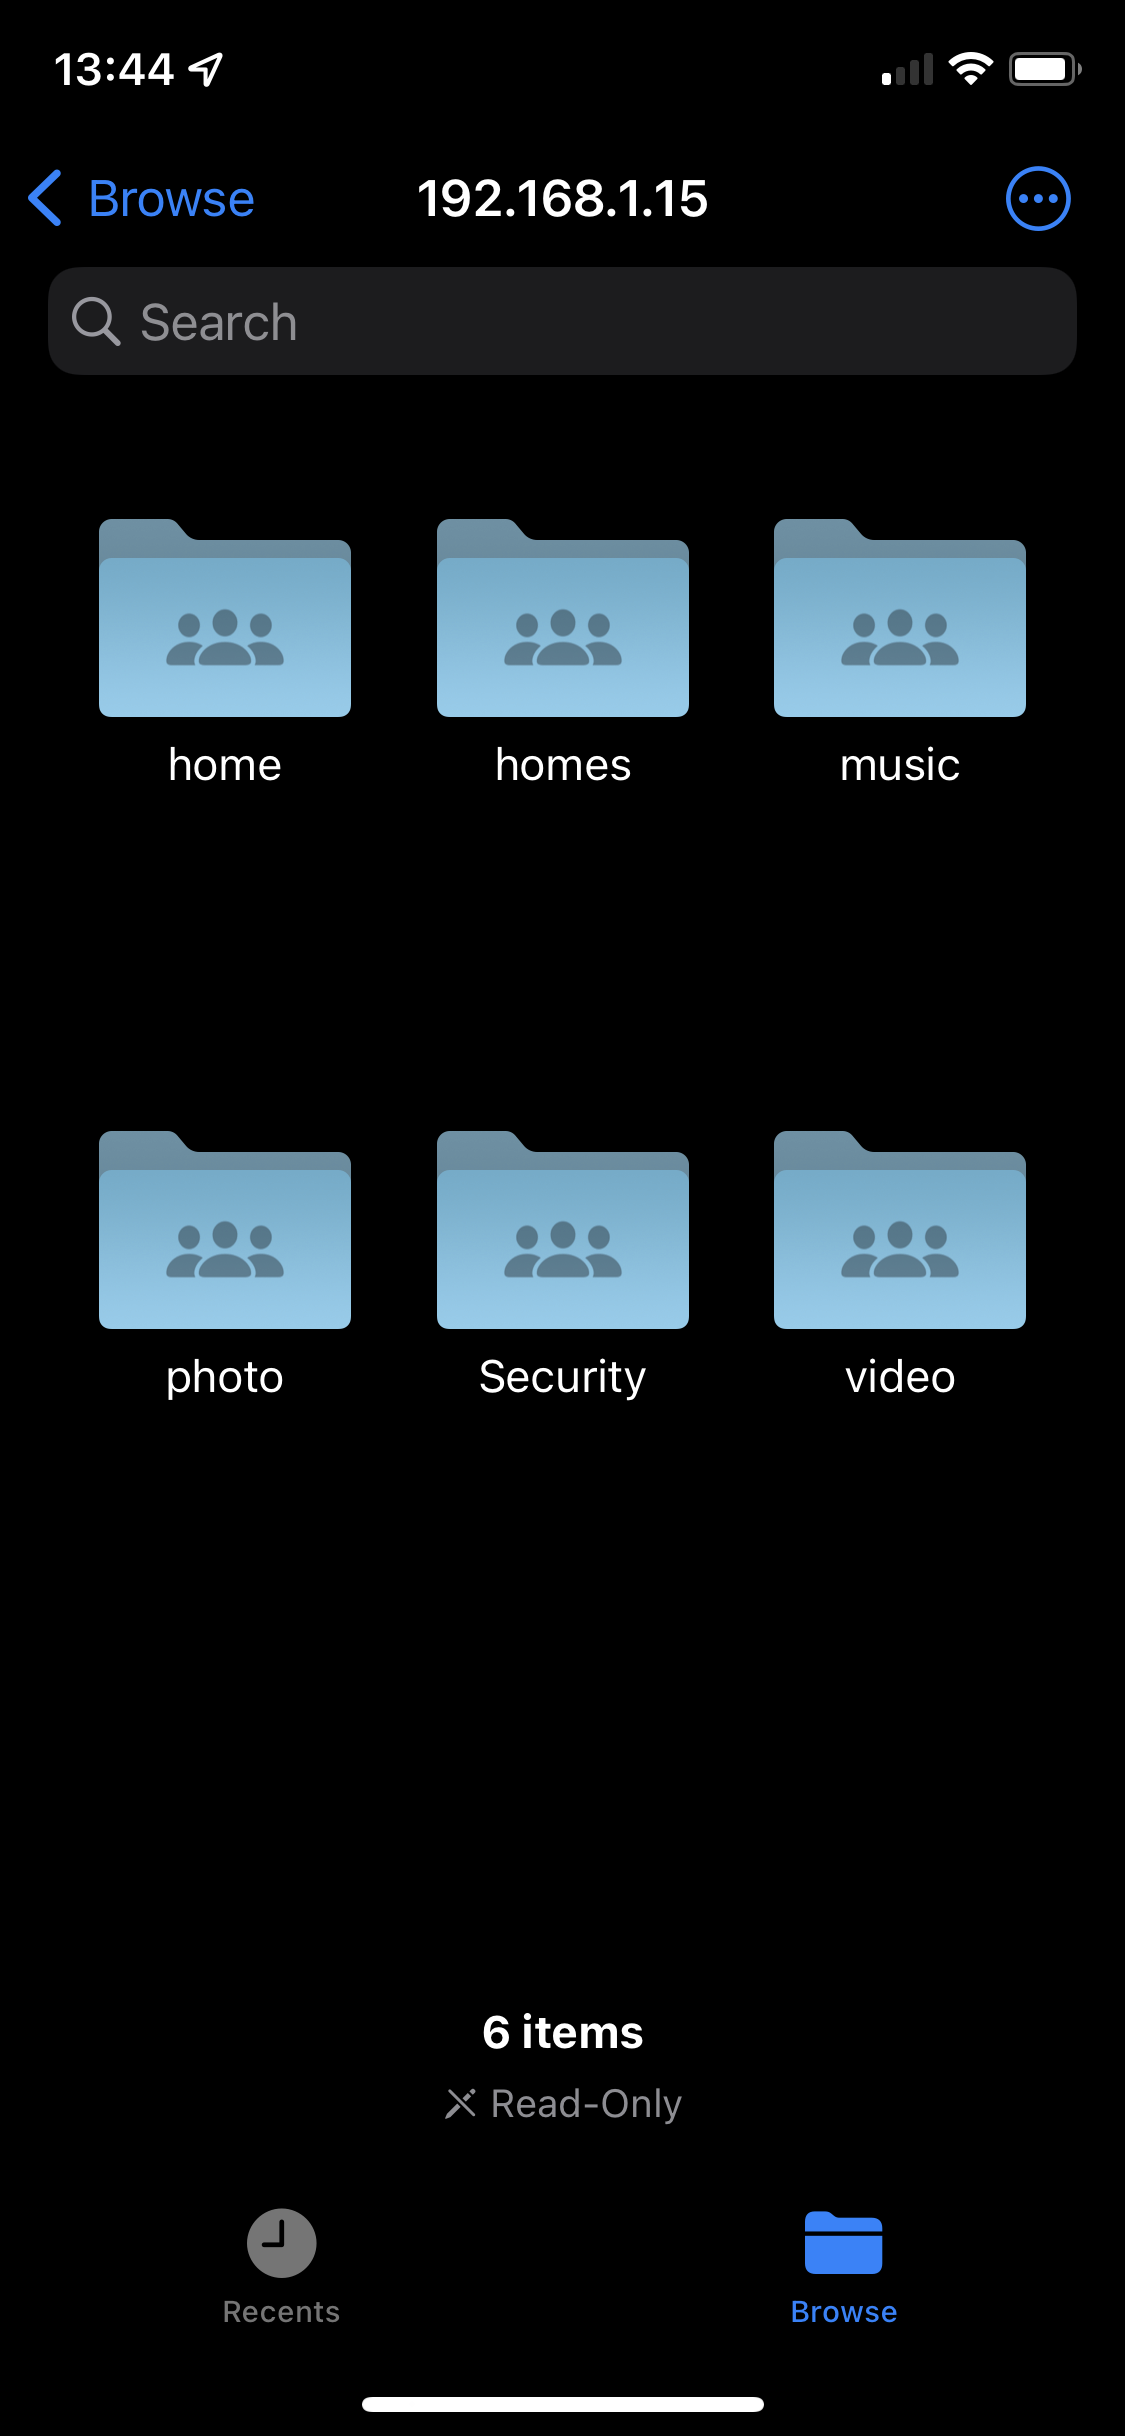
- Your files will be displayed and you can get to work.
Get in touch if you need a reliable IT partner to help support your business.
Aurora Tech Support have been supporting businesses with their office IT since 2003, if you’d like to have a chat about making sure you and your team have the right IT in place for your business please get in touch.

